Crochet Bunny Face Pattern: 5 Easy Steps for Beginners
Looking for a cute crochet bunny face pattern that is simple enough for beginners? This little bunny is a fun project for practicing crochet in the round while creating something adorable at the same time.
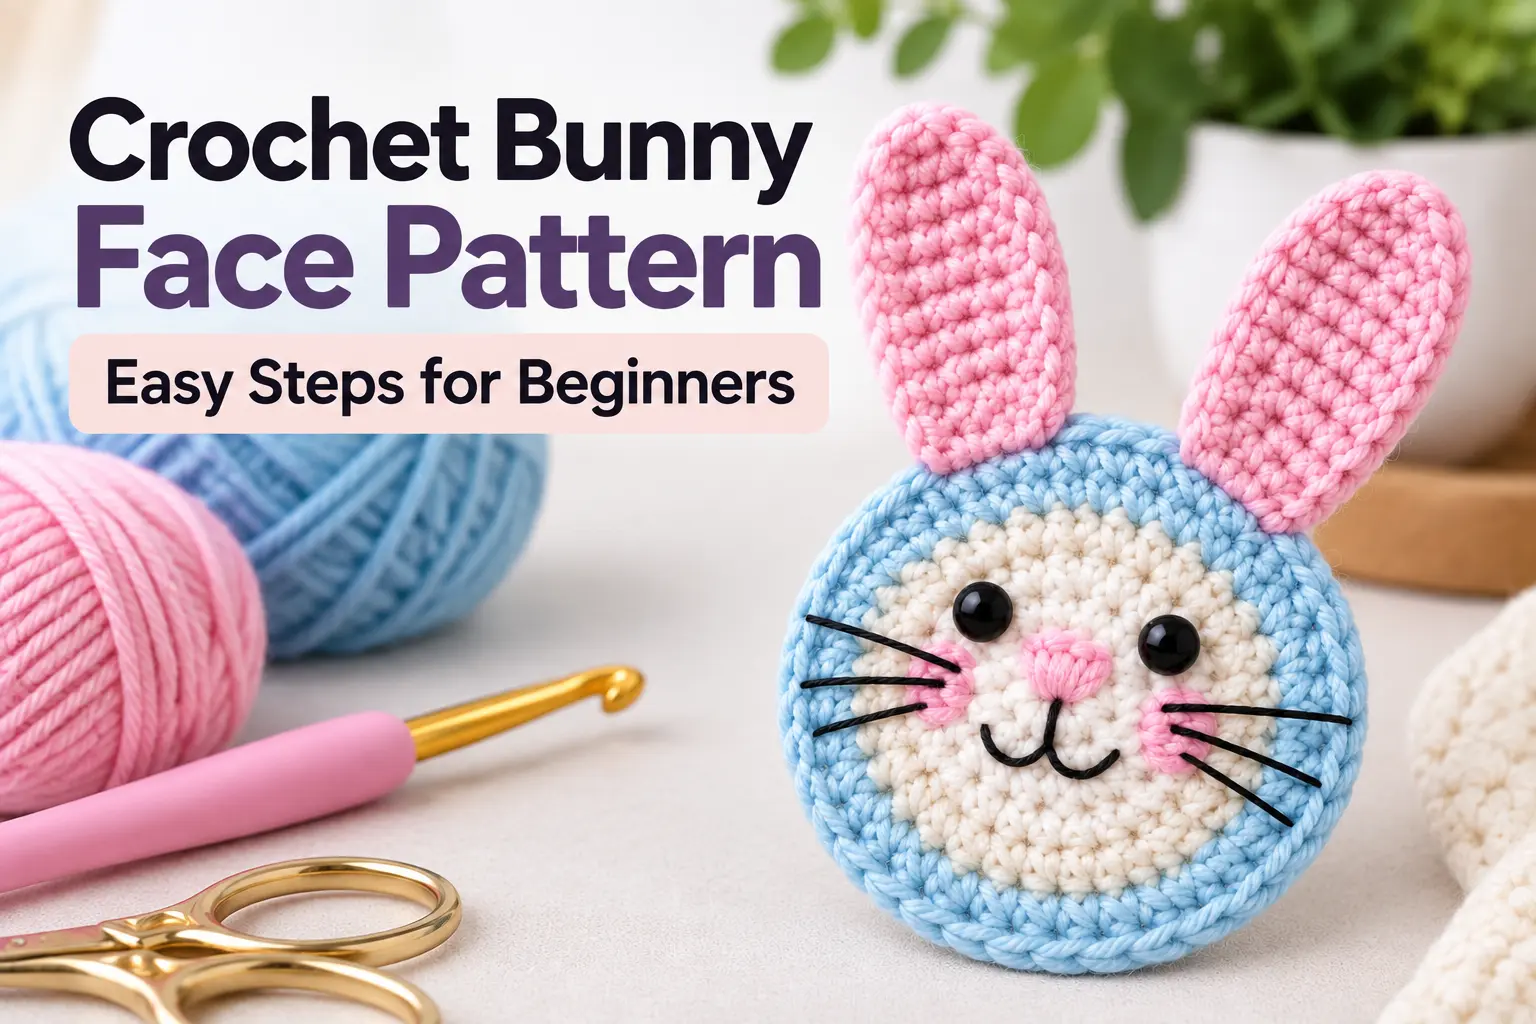
The design uses a flat circular head with two long crochet ears. Once the basic pieces are finished, you can bring your bunny to life with eyes, a tiny pink nose, rosy cheeks, and embroidered whiskers.
This project is also a great way to practice the magic ring, single crochet, increases, and basic shaping.
You can use the finished bunny face as an applique, Easter decoration, bag embellishment, nursery decoration, or simply as a small crochet project for practicing your skills.
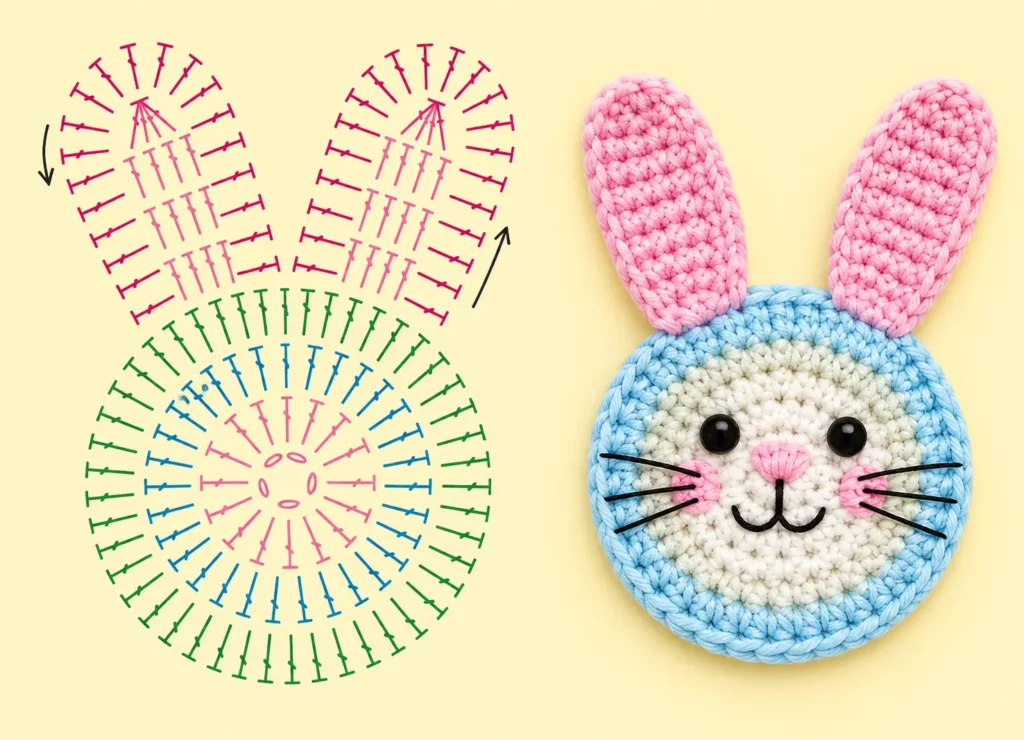
Crochet Bunny Face Pattern Overview
This crochet bunny face pattern is made from three main pieces:
- 1 round bunny head
- 2 long bunny ears
- Embroidered facial details
The head is crocheted from the center outward in continuous rounds. The ears are worked separately and then attached to the top of the head.
Skill level: Beginner
Crochet terminology: US terms
Construction: Worked in the round
Main techniques: Magic ring, single crochet, increases, basic assembly
The exact finished size will depend on your yarn, hook size, and tension.
Materials You’ll Need
For this easy crochet bunny project, you’ll need:
- Light blue yarn for the outer head
- Cream or white yarn for the face
- Pink yarn for the ears and nose
- Crochet hook suitable for your yarn
- Yarn needle
- Scissors
- Stitch marker
- Black embroidery thread
- Safety eyes or embroidered eyes
If you’re making this project for a baby or very young child, embroidered eyes are a safer choice than removable safety eyes.
Crochet Abbreviations
This pattern uses US crochet terminology:
MR – Magic Ring
ch – Chain
sc – Single Crochet
inc – Increase (2 sc in the same stitch)
sl st – Slip Stitch
st/sts – Stitch/Stitches
FO – Fasten Off
If the magic ring is still new to you, start with my How to Crochet a Magic Ring tutorial before beginning the bunny.
Step 1: Crochet the Center of the Bunny Face
We’ll begin our crochet bunny face pattern at the center of the head.
Using your cream or white yarn, make a magic ring.
Round 1: Work 6 sc into the magic ring. (6)
Pull the yarn tail gently to close the center.
Place a stitch marker in your first stitch so you can easily identify the beginning of each round.
Step 2: Increase the Crochet Bunny Head
Now we’ll expand the circle by adding regular increases.
Round 2: Inc in each stitch around. (12)
Round 3: (1 sc, inc) repeat around. (18)
Round 4: (2 sc, inc) repeat around. (24)
Round 5: (3 sc, inc) repeat around. (30)
At this point, your bunny face should look like a small flat circle.
Keep your tension consistent as you work. If your circle begins curling upward, your tension may be too tight. If it becomes very wavy, check that you haven’t accidentally added extra increases.
Step 3: Add the Outer Head Color
The reference design has a light-colored center surrounded by a contrasting blue border.
Change to your light blue yarn.
Continue increasing evenly around the circle to create the outer portion of the bunny’s head.
A natural continuation for this construction is:
Round 6: (4 sc, inc) repeat around. (36)
Round 7: (5 sc, inc) repeat around. (42)
Fasten off and weave in the ends neatly at the back.
Your bunny head should remain relatively flat and circular.
Step 4: Crochet the Bunny Ears
Next, make two matching ears using pink yarn.
The reference chart shows each ear as a long oval worked around a starting chain.
Start by making a foundation chain long enough to create the desired ear length.
Work along one side of the chain using basic crochet stitches, add several stitches around the end to turn, then crochet along the opposite side.
The goal is to create a smooth oval shape.
For a small bunny face, you can begin with approximately 8–10 chains, depending on your yarn and hook.
A simple version is:
Foundation: Ch 9.
Starting in the second chain from your hook, sc across.
Work several sc into the final chain to curve around the end.
Continue along the opposite side of the foundation chain.
Add additional stitches around both rounded ends as needed to keep the ear flat.
Join with a sl st and fasten off, leaving a long tail for sewing.
Make a second ear in exactly the same way.
Because the ear chart doesn’t include a clearly readable stitch legend/count in the supplied image, use the visible oval shape as your guide rather than treating these suggested counts as an exact transcription.
Step 5: Assemble Your Crochet Bunny Face
Position both ears behind the upper edge of the head.
Before sewing, experiment with their placement. You can position them straight up for an alert bunny or angle them slightly outward for a softer look.
Using the yarn tails and a yarn needle, sew each ear securely to the back of the bunny head.
Weave in the remaining ends.
Now your basic crochet bunny face is complete!
How to Add the Bunny’s Face
This is where your little bunny gets its personality.
Position two black eyes evenly on the cream section of the face.
Add a small pink nose in the center. Using black embroidery thread, stitch a short vertical line underneath the nose and create a simple curved mouth.
You can also embroider three thin whiskers on each side.
For the rosy cheeks shown in the inspiration image, add a few small pink stitches underneath each eye.
Don’t worry about making both sides perfectly identical. Small handmade differences can make your bunny look even sweeter.
Ways to Use Your Crochet Bunny
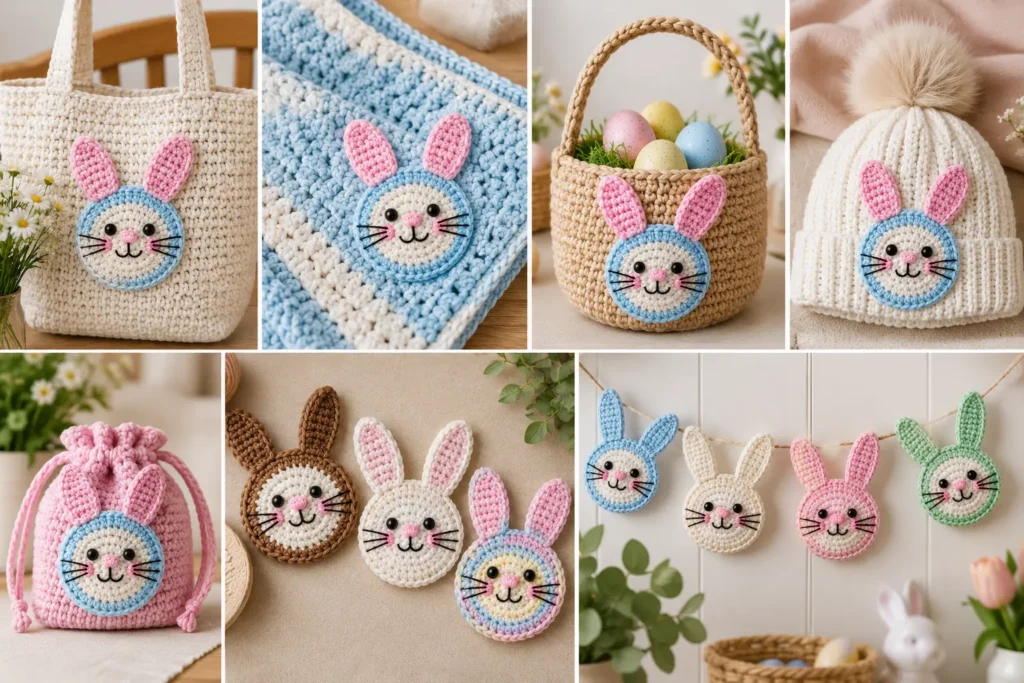
Once you’ve finished the crochet bunny face pattern, there are lots of ways to use it.
Sew it onto a crochet tote bag, baby blanket, Easter basket, hat, or handmade pouch. You could also add a hanging loop and turn it into a spring decoration.
Another idea is to experiment with different colors.
Try a brown bunny with cream ears, a white bunny with pastel pink details, or even a completely colorful version using leftover yarn.
You can also make several bunny faces and turn them into a cute Easter garland.
Tips for a Neater Bunny
Keep the head flat while working your increase rounds. Lay it on a table occasionally to check the shape.
Use a stitch marker so you don’t lose the beginning of your round.
When making the second ear, compare it with the first as you crochet. This makes it easier to keep both ears approximately the same size.
Before attaching the facial details, position everything first. Moving an eye just one stitch can completely change your bunny’s expression.
And if you’re using safety eyes, remember to attach them before any construction that would prevent you from reaching the back.
Can Beginners Make This Crochet Bunny?
Yes. This project is particularly useful if you’ve recently started learning amigurumi.
You’ll practice working into a magic ring, increasing a circle, changing colors, creating an oval shape, and assembling separate crochet pieces.
If you’re completely new to these techniques, read my Amigurumi for Beginners guide first. It covers the fundamental skills you’ll use across many Tiny Crochet Nest projects.
Crochet Bunny Face Pattern FAQ
Is this crochet bunny face pattern suitable for beginners?
Yes! This crochet bunny face pattern is beginner-friendly and uses basic crochet techniques such as the magic ring, single crochet, increases, and simple assembly. If you’re new to crochet, take your time with each round and use a stitch marker to keep track of your stitches.
What yarn is best for this crochet bunny face pattern?
A smooth cotton or acrylic yarn works especially well for this crochet bunny face pattern because the stitches are easy to see and the finished bunny keeps a neat shape. You can use cream or white for the face, light blue and pale mint for the border, and pink for the ears, cheeks, and nose.
Can I make the crochet bunny face bigger?
Absolutely. You can make this crochet bunny face pattern larger by using thicker yarn with a larger crochet hook. You can also add more increase rounds to the circular head, but remember to adjust the ears so they stay proportional to the finished bunny face.
Do I need safety eyes for this crochet bunny face pattern?
No. Safety eyes are optional. You can embroider the eyes with black yarn or embroidery thread instead. Embroidered facial features are also a better option when using the finished crochet bunny face pattern on an item intended for a baby or very young child.
Can I use the finished bunny as a crochet applique?
Yes! The flat construction makes this crochet bunny face pattern perfect for an applique. Sew the finished bunny onto a crochet tote bag, Easter basket, baby blanket, handmade pouch, hat, or other spring project.
You can also make several bunny faces in different colors and join them together to create a cute Easter garland.
Can I change the colors of the bunny?
Of course. One of the easiest ways to personalize this crochet bunny face pattern is to experiment with different yarn colors. Try a brown and cream bunny, a white bunny with pastel pink ears, or use leftover yarn to create a colorful version.
Is this crochet bunny face pattern an amigurumi pattern?
This crochet bunny face pattern uses techniques commonly found in amigurumi, including starting with a magic ring and crocheting in the round. However, the finished bunny is a flat crochet piece rather than a traditional three-dimensional stuffed amigurumi toy.
More Easy Amigurumi Projects
If you enjoyed making this crochet bunny face pattern, there are plenty of cute projects and beginner-friendly techniques to try next!
New to amigurumi ? Start with my Amigurumi for Beginners guide to learn the essential stitches, supplies, and techniques you’ll use to make adorable crochet characters.
Need a little help starting projects in the round ? My How to Crochet a Magic Ring tutorial walks you through the technique in 5 easy steps, perfect for beginners.
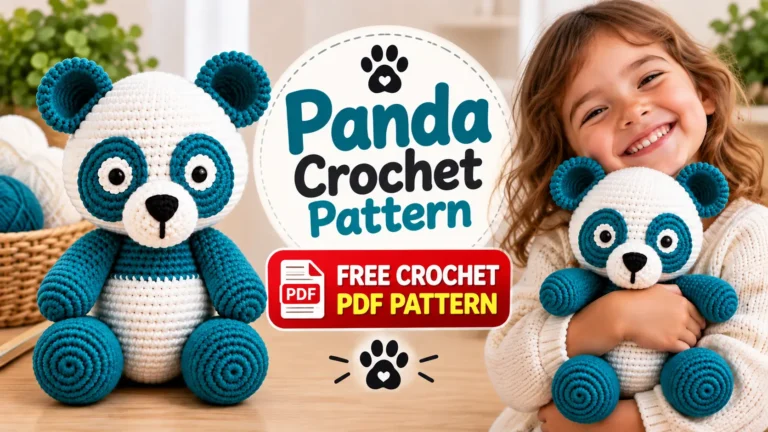
Then, put your new skills into practice with this cute Panda Crochet Pattern and keep growing your amigurumi collection. 🐼🧶
Love this crochet bunny? Save this pattern on Pinterest 📌 so you can easily find it when you’re ready to crochet. And don’t forget to follow Tiny Crochet Nest for more cute crochet patterns, amigurumi ideas, and beginner-friendly tutorials!