Crochet Baby Baseball Cap Pattern – Cute Newborn Hat (0–3 months)
There is something especially sweet about making a tiny crochet project for a new baby. The stitches are small, the yarn is soft, and before you know it, a simple ball of yarn has turned into something that looks almost impossibly cute.
This Crochet Baby Baseball Cap Pattern is one of those projects.
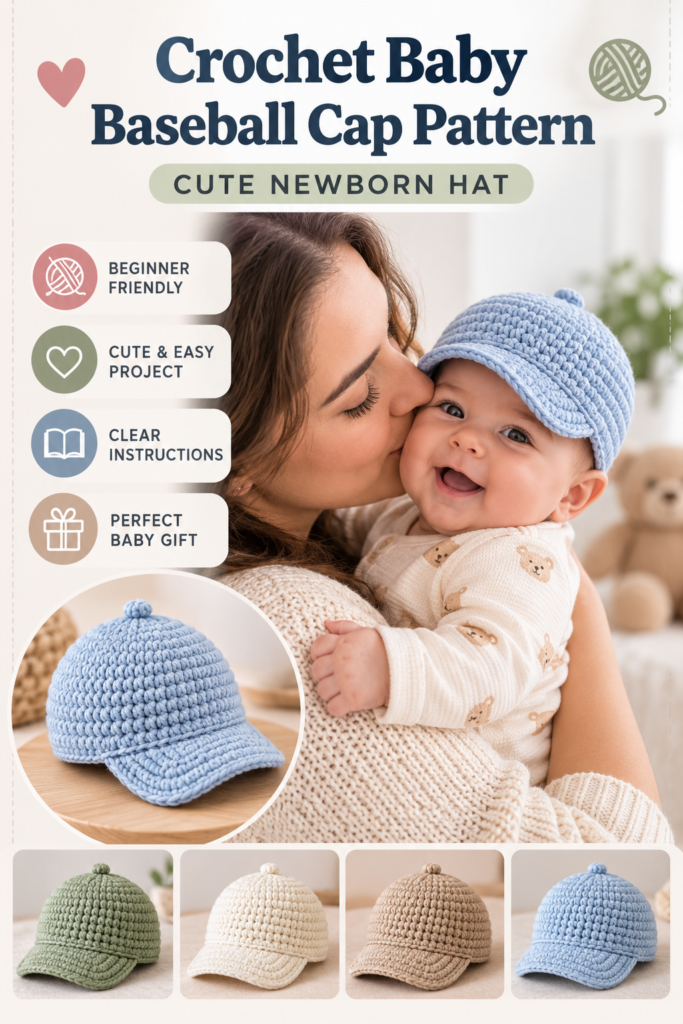
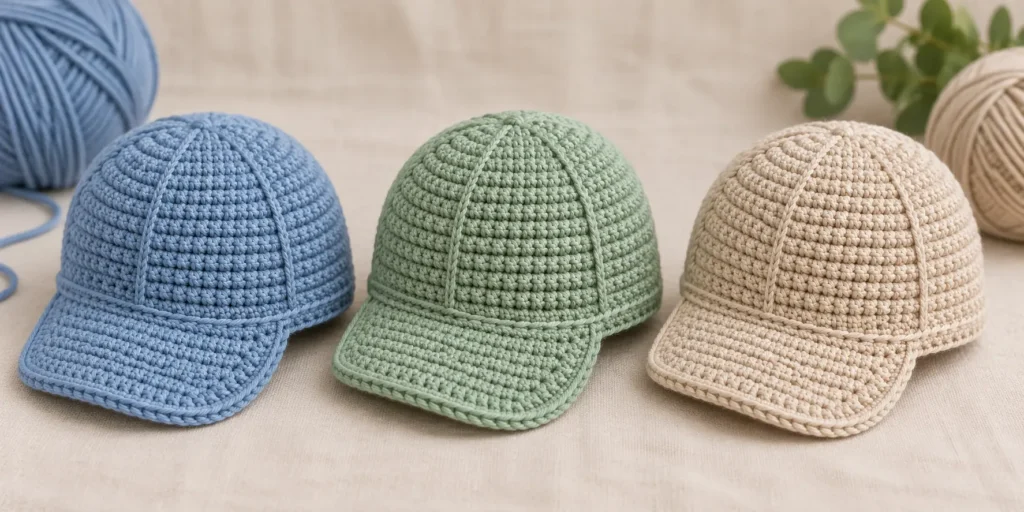
Designed for approximately 0–3 months, this little crochet baseball cap features a softly rounded crown, a comfortable lower band, and a miniature curved bill that gives it the classic baseball-cap look.
And although the finished hat looks detailed, the construction is surprisingly approachable.
The Crochet Baby Baseball Cap Pattern is worked from the crown downward in joined rounds. Once the main hat is finished, the bill is crocheted directly onto the front and shaped with simple decreases.
If you already know how to chain, half double crochet, single crochet, increase, decrease, and slip stitch, you have most of the skills you need.
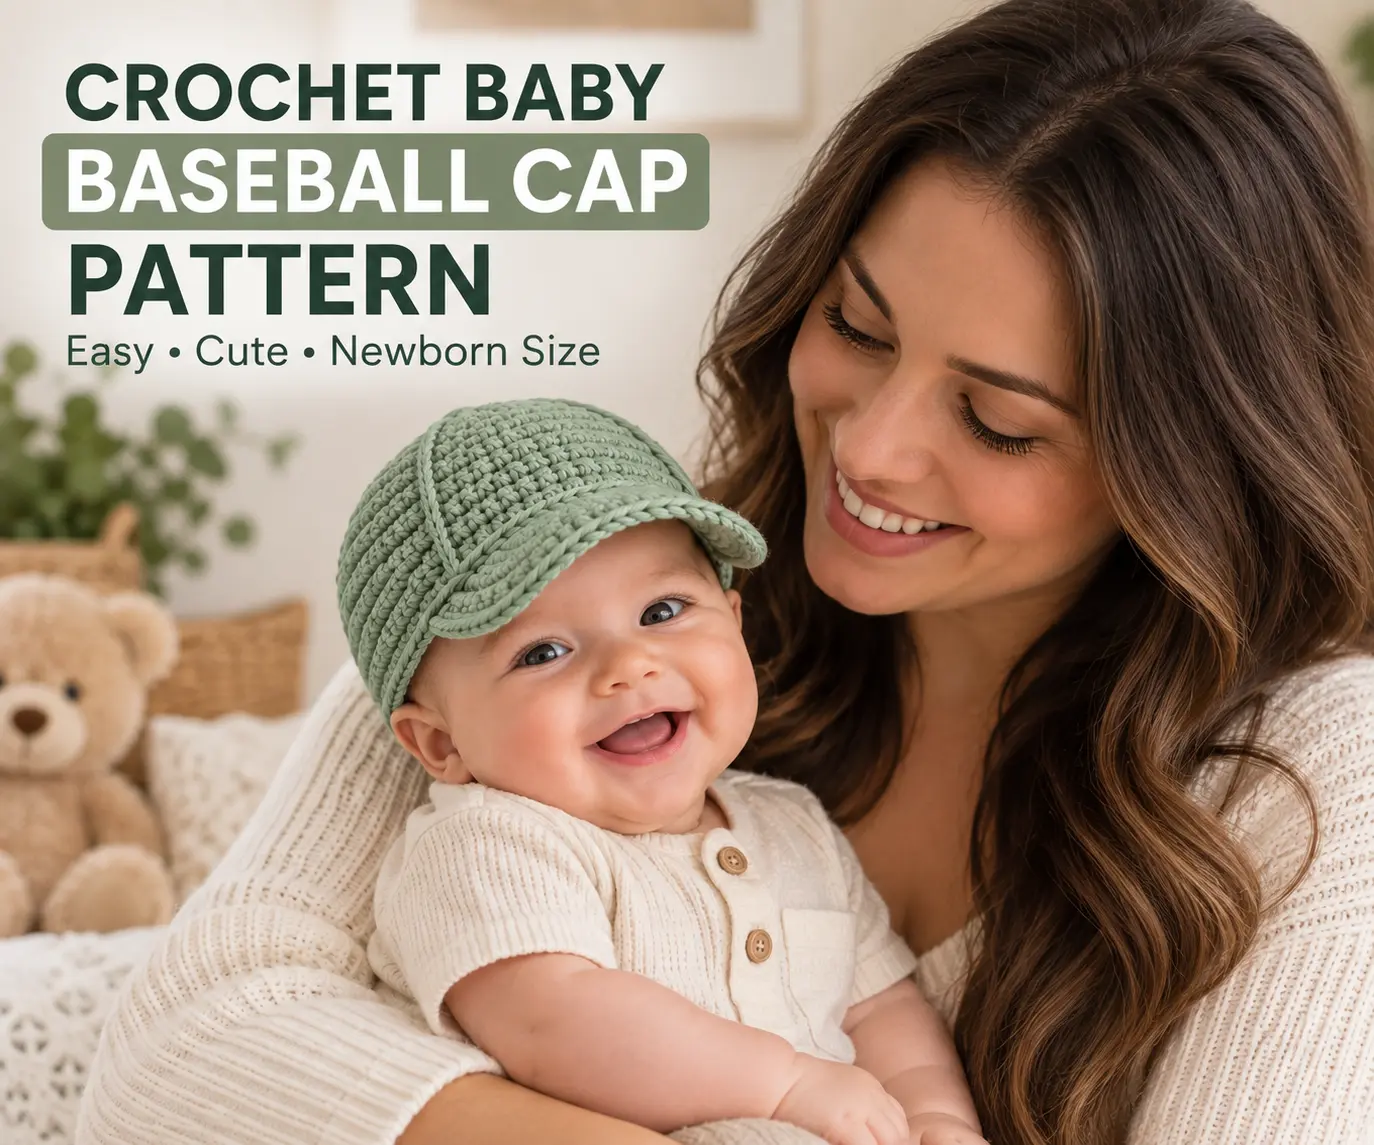
PHOTO 1 – FEATURED IMAGE:
Finished crochet baby baseball cap on a warm cream background. Use soft sage green, dusty blue, or warm beige yarn. Add a small ball of matching yarn and crochet hook beside it.
Alt text: Crochet Baby Baseball Cap Pattern for a newborn baby in soft yarn.
Why You’ll Love This Crochet Baby Baseball Cap Pattern
Baby hats are already quick and satisfying crochet projects, but adding a tiny bill completely changes the personality of the finished piece.
Instead of looking like a traditional beanie, this crochet baby baseball cap has a playful little sporty shape.
I especially love this pattern because you can easily change its personality just by changing the yarn color.
Try soft blue for a classic baby look, sage green for something modern, cream for a neutral baby shower gift, or even dusty rose if you’re making one for a little girl.
The finished cap is small enough to work up without using much yarn, making it a lovely project for using leftover baby yarn.
Crochet Baby Baseball Cap Pattern at a Glance
Skill Level: Easy / Advanced Beginner
Size: Newborn–3 Months
Construction: Top-down, joined rounds
Terminology: US crochet terms
Main Stitches: Half double crochet and single crochet
Hook: 4 mm (G/6)
Yarn: DK / Light #3 baby yarn
Finished Hat Circumference: approximately 13 in / 33 cm
Approximate Hat Height Before Bill: 5–5.25 in / 12.5–13.5 cm
Baby sizing varies considerably, so measurements are more useful than age alone. Published crochet sizing references commonly put 0–3-month head circumference around 13–14 inches, with the finished hat slightly smaller to provide stretch. (Lovable Loops)
Materials for the Crochet Baby Baseball Cap Pattern
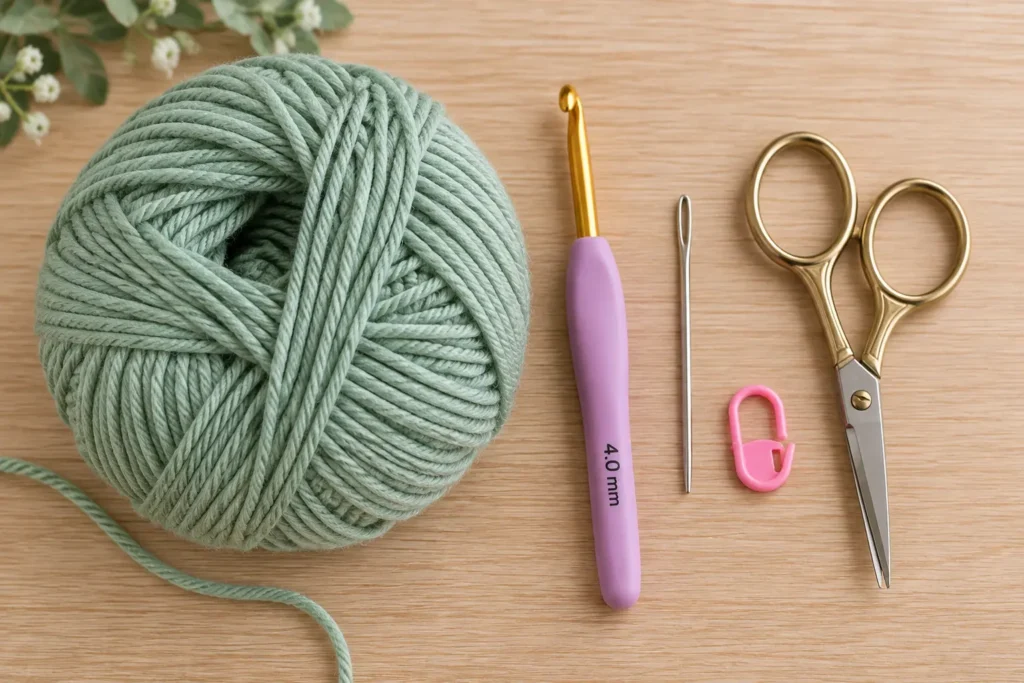
You will need:
- DK / Light Weight #3 baby yarn
- 4 mm (G/6) crochet hook
- Yarn needle
- Scissors
- Stitch marker
- Flexible measuring tape
- Optional small decorative button
Choose a yarn that feels soft against the skin. Because this Crochet Baby Baseball Cap Pattern is designed for a newborn, comfort matters more than stiffness.
You want enough structure for the bill to hold its shape without creating a hard or uncomfortable hat.
Crochet Abbreviations
This Crochet Baby Baseball Cap Pattern uses standard US crochet terminology.
ch – chain
sc – single crochet
hdc – half double crochet
sl st – slip stitch
st / sts – stitch / stitches
inc – increase (2 stitches in the same stitch)
sc2tog – single crochet two together
Important Pattern Notes
Read through the complete Crochet Baby Baseball Cap Pattern before beginning.
The crown and body are worked from the top down in joined rounds.
The beginning chain does not count as a stitch.
Join each round with a slip stitch into the first actual stitch unless otherwise stated.
Use a stitch marker if you have difficulty identifying the first stitch.
Most importantly, check the measurements as you work. Yarn thickness, hook size, and individual crochet tension can noticeably change the size of a baby hat.
Gauge and Sizing
For this pattern, aim for approximately:
15 hdc × 11 rows = 4 in / 10 cm
Your exact row gauge is less important than achieving the intended finished circumference.
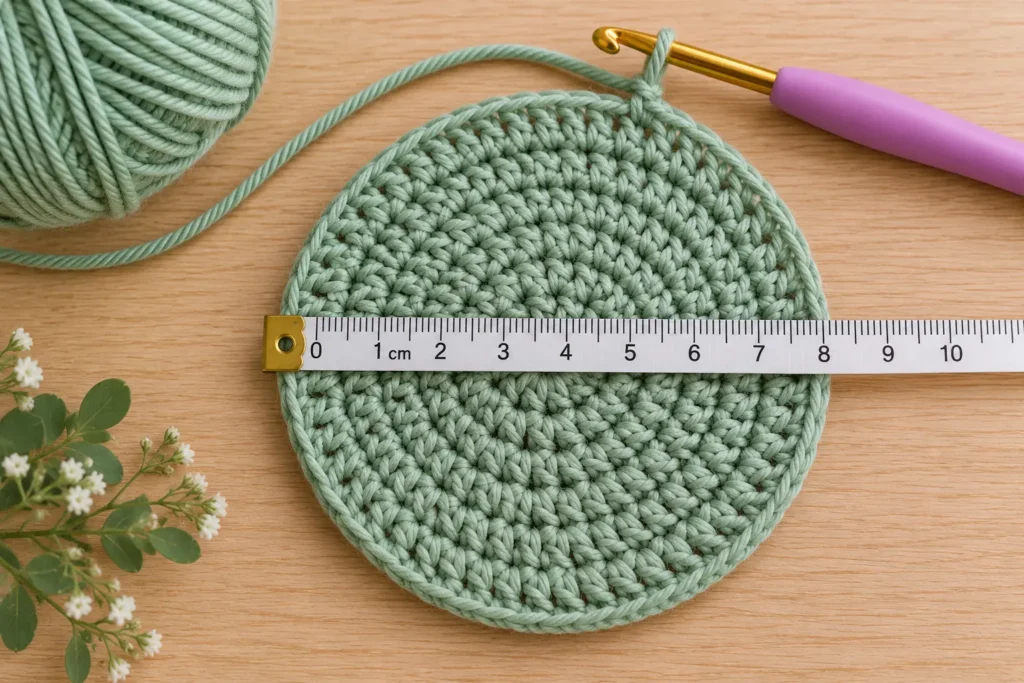
After completing the increase section, lay the crown flat and measure across the widest point.
If your work is significantly larger than expected, switch to a smaller hook. If it is too small, try a slightly larger hook.
Because newborn heads vary, measuring the baby whenever possible is better than relying entirely on age charts.
Crochet Baby Baseball Cap Pattern – Crown
Now we can begin crocheting.
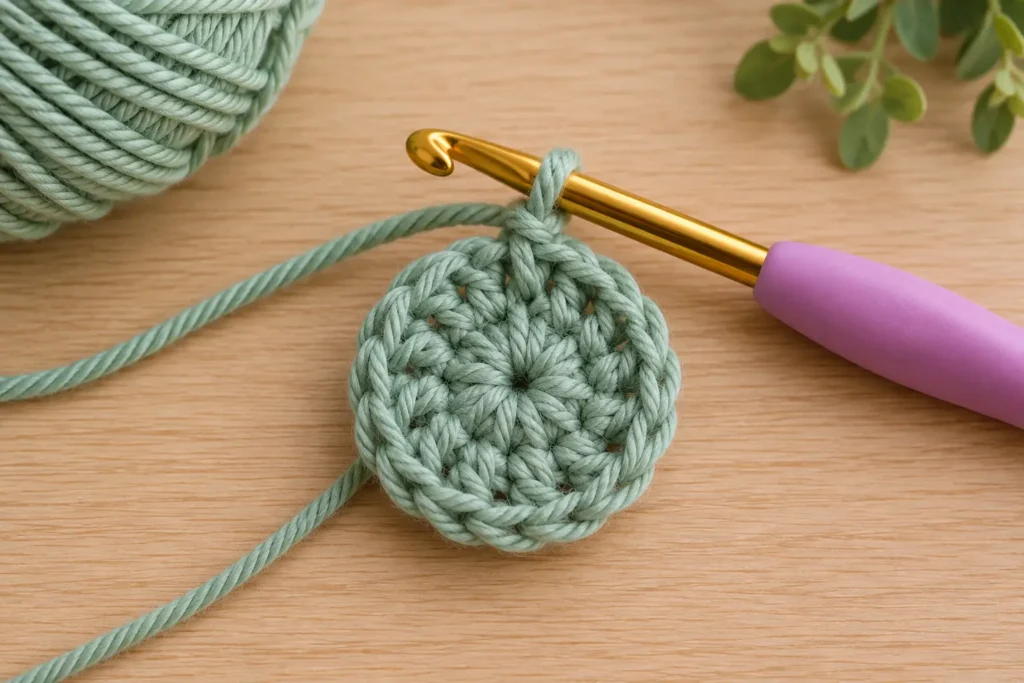
Round 1
Make a magic ring.
Ch 1.
Work 9 hdc into the magic ring.
Pull the ring closed.
Join with a sl st to the first hdc.
Stitch count: 9 hdc
The center should sit flat without forming a noticeable hole.
Round 2
Ch 1.
Work 2 hdc in every stitch around.
Join with a sl st.
Stitch count: 18 hdc
You have doubled the number of stitches and started forming the circular crown.
Round 3
Ch 1.
Work:
*1 hdc in next st, 2 hdc in next st*
Repeat from * to * around.
Join with a sl st.
Stitch count: 27 hdc
The circle should continue expanding evenly.
Round 4
Ch 1.
Work:
*1 hdc in each of the next 2 sts, 2 hdc in next st*
Repeat around.
Join.
Stitch count: 36 hdc
Round 5
Ch 1.
Work:
*1 hdc in each of the next 3 sts, 2 hdc in next st*
Repeat around.
Join.
Stitch count: 45 hdc
Round 6
Ch 1.
Work:
*1 hdc in each of the next 8 sts, 2 hdc in next st*
Repeat around.
Join.
Stitch count: 50 hdc
At this stage, stop increasing.
Lay your crochet circle flat and check that it is smooth rather than wavy or cupped.
Crochet the Body of the Baby Baseball Cap
Now that the crown is established, the Crochet Baby Baseball Cap Pattern becomes very simple.
Instead of increasing, we will work one stitch into every stitch.
This causes the flat crown to begin curving downward and forming the sides of the cap.
Round 7
Ch 1.
Hdc in each stitch around.
Join with sl st.
50 hdc
Rounds 8–13
Repeat Round 7.
50 hdc each round
As you add these rounds, you should see the cap gradually taking shape.
Do not worry if it looks slightly rounded rather than perfectly cylindrical. That gentle curve is exactly what we want for a comfortable baby cap.
Crochet the Lower Band
The next section gives our crochet baby baseball cap a cleaner lower edge.
Round 14
Ch 1.
Sc in every stitch around.
Join with sl st.
50 sc
Round 15
Ch 1.
Sc in every stitch around.
Join.
50 sc
Round 16
Repeat Round 15.
50 sc
Do not fasten off yet.
Try the cap on the intended baby if possible, or check the finished measurements.
The cap should stretch gently rather than feeling loose.
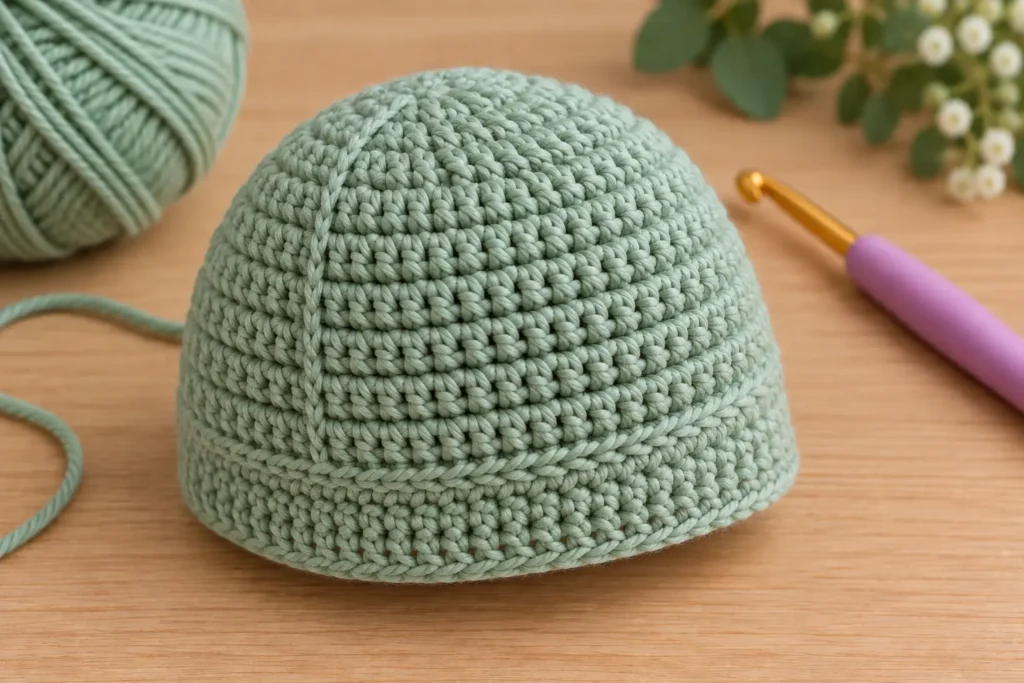
How to Crochet the Baseball Cap Bill
This is the fun part.
The bill transforms what looks like a simple newborn crochet hat into a miniature baseball cap.
Rather than crocheting a separate piece and sewing it on, we will work the bill directly into the front stitches of the hat.
This creates a cleaner finish.
Find the Center Front
Lay the hat flat with the joining seam positioned toward the back.
Mark the center front stitch.
Count 10 stitches to the left and 10 stitches to the right of the center.
The bill will be worked across 21 stitches.
Place stitch markers at both ends.
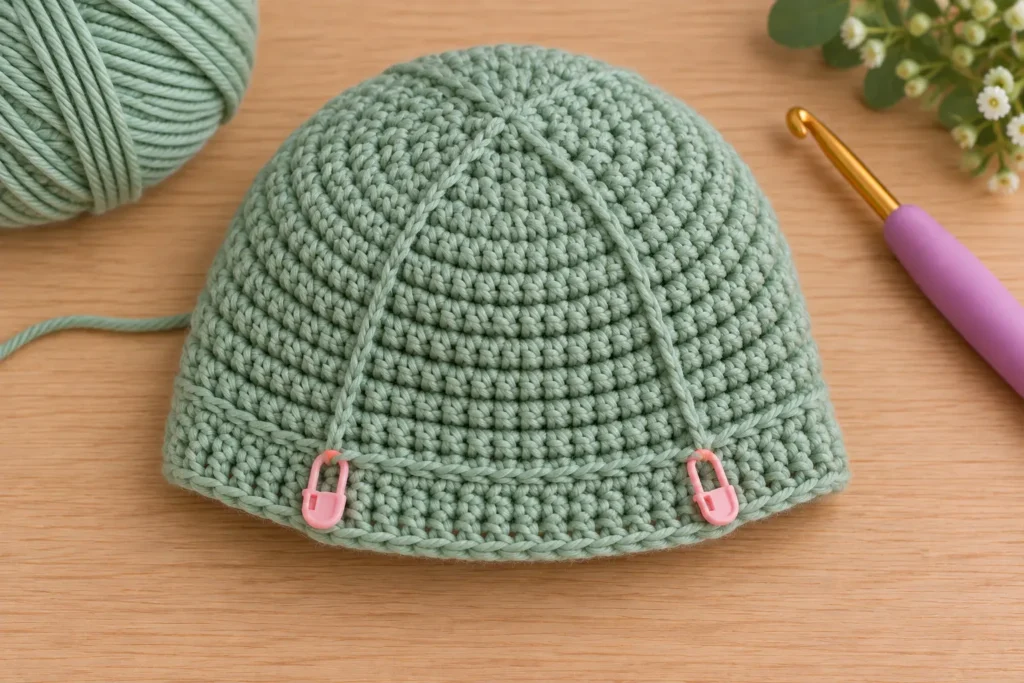
Bill – Row 1
With the right side facing you, attach yarn at the first marker.
Ch 1.
Sc in the same stitch and in each marked stitch across.
21 sc
Ch 1, turn.
Bill – Row 2
Sc2tog.
Sc in the next 17 sts.
Sc2tog.
19 sts
Ch 1, turn.
This first decrease begins rounding the outside corners of the bill.
Bill – Row 3
Sc2tog.
Sc in next 5 sts.
2 sc in next st.
Sc in next 3 sts.
2 sc in next st.
Sc in next 5 sts.
Sc2tog.
19 sts
Ch 1, turn.
The increases near the center encourage the bill to project forward while the decreases soften the outside edges.
Bill – Row 4
Sc2tog.
Sc across until 2 stitches remain.
Sc2tog.
17 sts
Ch 1, turn.
Bill – Row 5
Sc2tog.
Sc in next 4 sts.
2 sc in next st.
Sc in next 3 sts.
2 sc in next st.
Sc in next 4 sts.
Sc2tog.
17 sts
Ch 1, turn.
Bill – Row 6
Sc2tog.
Sc in each stitch until 2 stitches remain.
Sc2tog.
15 sts
Fasten off.
The bill should now have a soft curved shape rather than sharp corners.
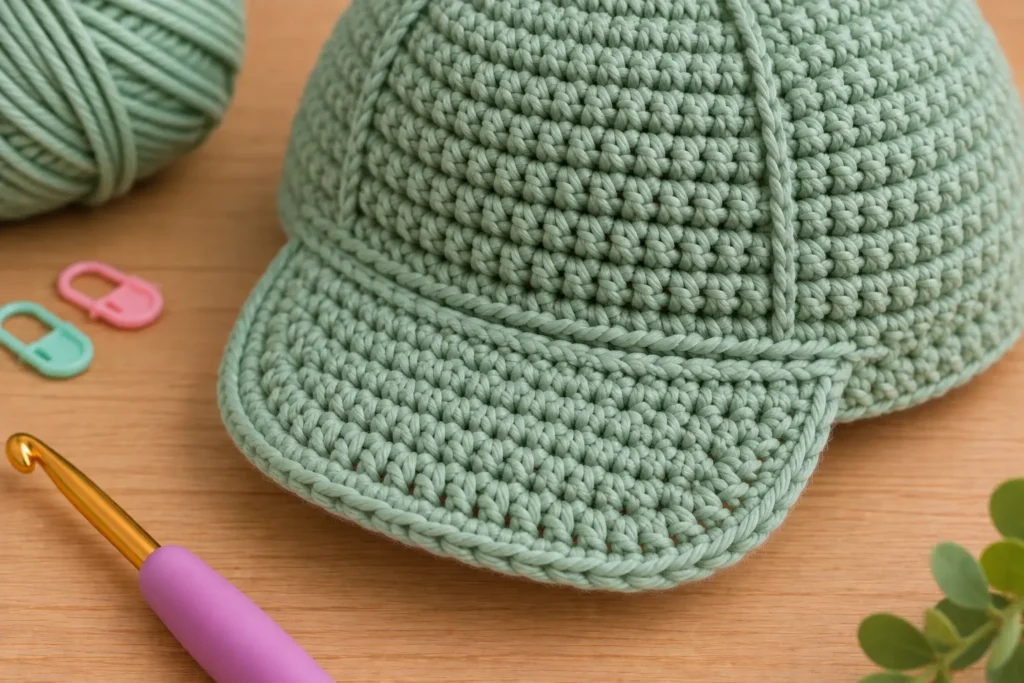
Add the Finishing Edge
Rejoin your yarn where one side of the bill meets the hat.
Ch 1.
Work evenly spaced single crochet stitches down the side of the bill.
Continue across the curved front edge.
Work evenly back up the opposite side.
Then continue with one sc in each stitch around the lower edge of the hat.
Join with a slip stitch.
Fasten off.
This finishing round helps visually connect the bill to the body of the cap.
Avoid packing too many stitches around the curved edge because that can make the bill ripple.
Shape the Crochet Baseball Cap Bill
Once you have woven in the ends, gently shape the bill with your fingers.
Don’t fold it sharply.
Instead, hold both sides and give the center a very gentle downward curve.
The goal is a soft baby-friendly baseball cap shape, not the rigid visor you would find on an adult baseball cap.
No plastic insert is necessary.
Optional Decorative Button
If you’d like, you can add a small decorative button at the center of the crown.
However, because this project is intended for a baby, I prefer leaving the cap completely free of detachable embellishments.
If you do use any decoration, it must be attached extremely securely and the hat should only be used under appropriate adult supervision.
For a simpler option, let the crochet texture be the decoration.
Finishing Your Crochet Baby Baseball Cap Pattern
Use your yarn needle to weave all yarn tails securely into the inside of the cap.
Trim excess yarn.
Check the inside carefully to make sure there are no long loose strands.
Lay the hat flat and gently shape the crown and bill with your hands.
Your Crochet Baby Baseball Cap Pattern is finished!
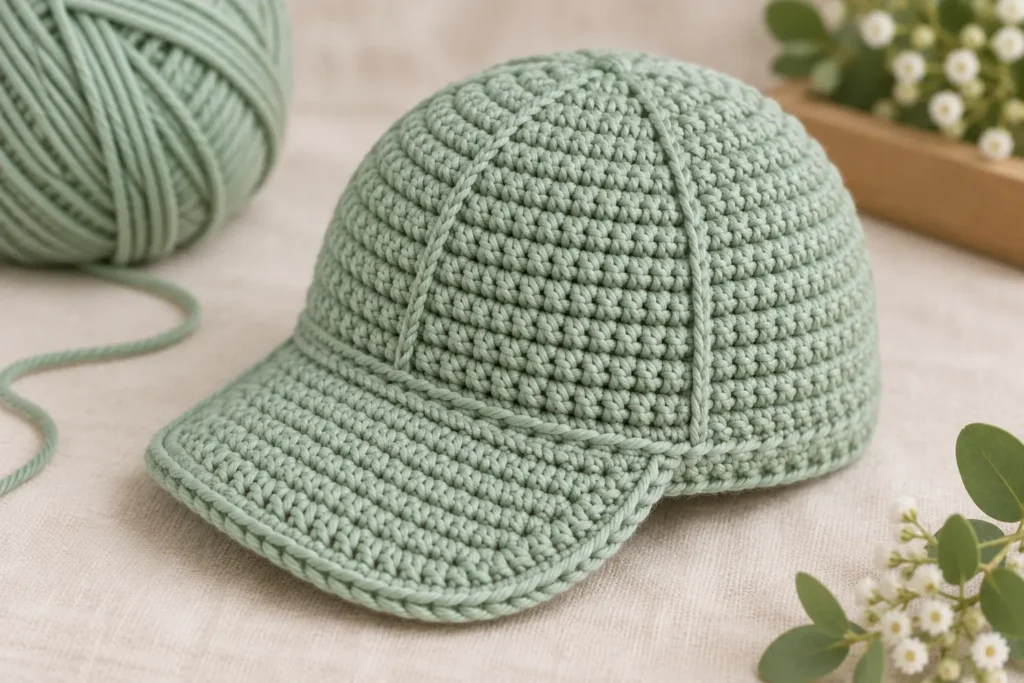
How to Change the Color of Your Crochet Baby Baseball Cap
One reason I love this Crochet Baby Baseball Cap Pattern is how different it can look simply by changing the yarn.
For a classic baby-boy look, try:
Dusty blue + cream
For something modern:
Sage green + natural wood tones
For a neutral newborn gift:
Warm beige + ivory
For a baby girl:
Dusty rose + cream
And for a vintage look:
Mustard + ivory
You could also work the final edging round in a contrasting color to highlight the little baseball bill.
How to Adjust the Size
The easiest way to adjust this Crochet Baby Baseball Cap Pattern is by checking measurements rather than simply adding random rounds.
For a larger baby, the crown needs to be wider before you stop increasing.
You’ll also need additional body depth.
For reference, common crochet sizing charts put a newborn/0–3-month head around 13–14 inches (33–36 cm), although individual babies vary. (Crochet Crafty)
Always measure the baby’s head when possible.
If your cap is coming out too small despite following the pattern exactly, your tension may simply be tighter than mine. Try moving up one hook size.
If it’s too large, move down a hook size.
Can Beginners Make This Crochet Baby Baseball Cap Pattern?
Yes — but I would call it an advanced beginner project rather than an absolute first crochet project.
The main hat is straightforward.
You’ll need to know how to:
chain, single crochet, half double crochet, slip stitch, increase and decrease.
The bill requires a little more attention because the stitch counts change from row to row.
If you’re still learning the basics, you may want to read my Crochet Stitches for Beginners guide before starting this project.
Frequently Asked Questions
What size is this Crochet Baby Baseball Cap Pattern?
This version is designed for approximately 0–3 months, with a finished circumference of about 13 inches / 33 cm, depending on yarn, hook and tension.
Baby sizing is never exact by age, so measure whenever possible.
What yarn is best for a crochet baby baseball cap?
A soft DK / Light #3 baby yarn works beautifully.
Look for something smooth, washable and comfortable against delicate skin.
Can I make the crochet baseball cap without the bill?
Absolutely.
Stop after completing the lower band and you’ll have a simple rounded crochet baby hat.
But the little visor is what gives this Crochet Baby Baseball Cap Pattern its distinctive personality.
Can I make the bill larger?
Yes.
You can start across a few additional stitches and add another shaping row.
Just remember that this is a newborn hat. A very large or stiff bill can overwhelm the tiny proportions of the cap.
How long does the Crochet Baby Baseball Cap Pattern take?
For an experienced crocheter, this is a relatively quick project. Beginners may need more time, especially when shaping the bill.
There’s no need to rush it—the small details are what make the finished cap look polished.
One Last Stitch ♡
Tiny crochet projects have a special kind of charm.
You begin with a hook and a small ball of yarn, and a little while later you’re holding something small enough to fit in the palm of your hand.
That’s exactly what I love about this Crochet Baby Baseball Cap Pattern.
The rounded crown keeps the design simple and comfortable, while that tiny crocheted bill gives the hat just enough personality to make it feel special.
Make it in soft blue, creamy white, sage green, beige, or whatever color reminds you of the little one you’re making it for.
And when you’re finished, don’t forget to take a photo before giving it away. Tiny handmade things have a habit of becoming treasured memories. 🧶🤍
Love making tiny crochet projects? You might also enjoy our Crochet Baby Booties Pattern or try something playful and cozy with our Crochet Bunny Granny Square. Explore more baby-friendly and beginner crochet projects on Tiny Crochet Nest whenever you’re ready for your next little make.
Save this Crochet Baby Baseball Cap Pattern to Pinterest 📌 so it’s waiting for you the next time you need a sweet handmade baby gift.