How to Crochet for Beginners: 4 Easy Steps to Get Started
How to crochet for beginners often starts with one simple moment: a ball of yarn, a crochet hook, and the curiosity to see what you can create.
I still love that feeling of picking up a soft skein of yarn and imagining all the possibilities hidden inside it. At first, crochet can seem a little confusing — where does the hook go, how do you hold the yarn, and why do those first stitches never look quite like the ones in the photos?
But here’s the lovely part: you don’t need to learn everything at once.
Crochet is built one stitch at a time. Once you understand a few simple basics, those first awkward loops slowly begin to turn into neat rows, cozy textures, and eventually something you made with your own hands. ♡
In this beginner-friendly guide, I’ll walk you through the essential supplies, how to hold your hook and yarn, and the basic crochet stitches you need to start your first project.
So grab some yarn, find a comfortable spot, and let’s make your first stitches together. 🧶
What Do You Need to Start Crocheting?
One of the best things about crochet is that you don’t need a huge collection of supplies to begin.
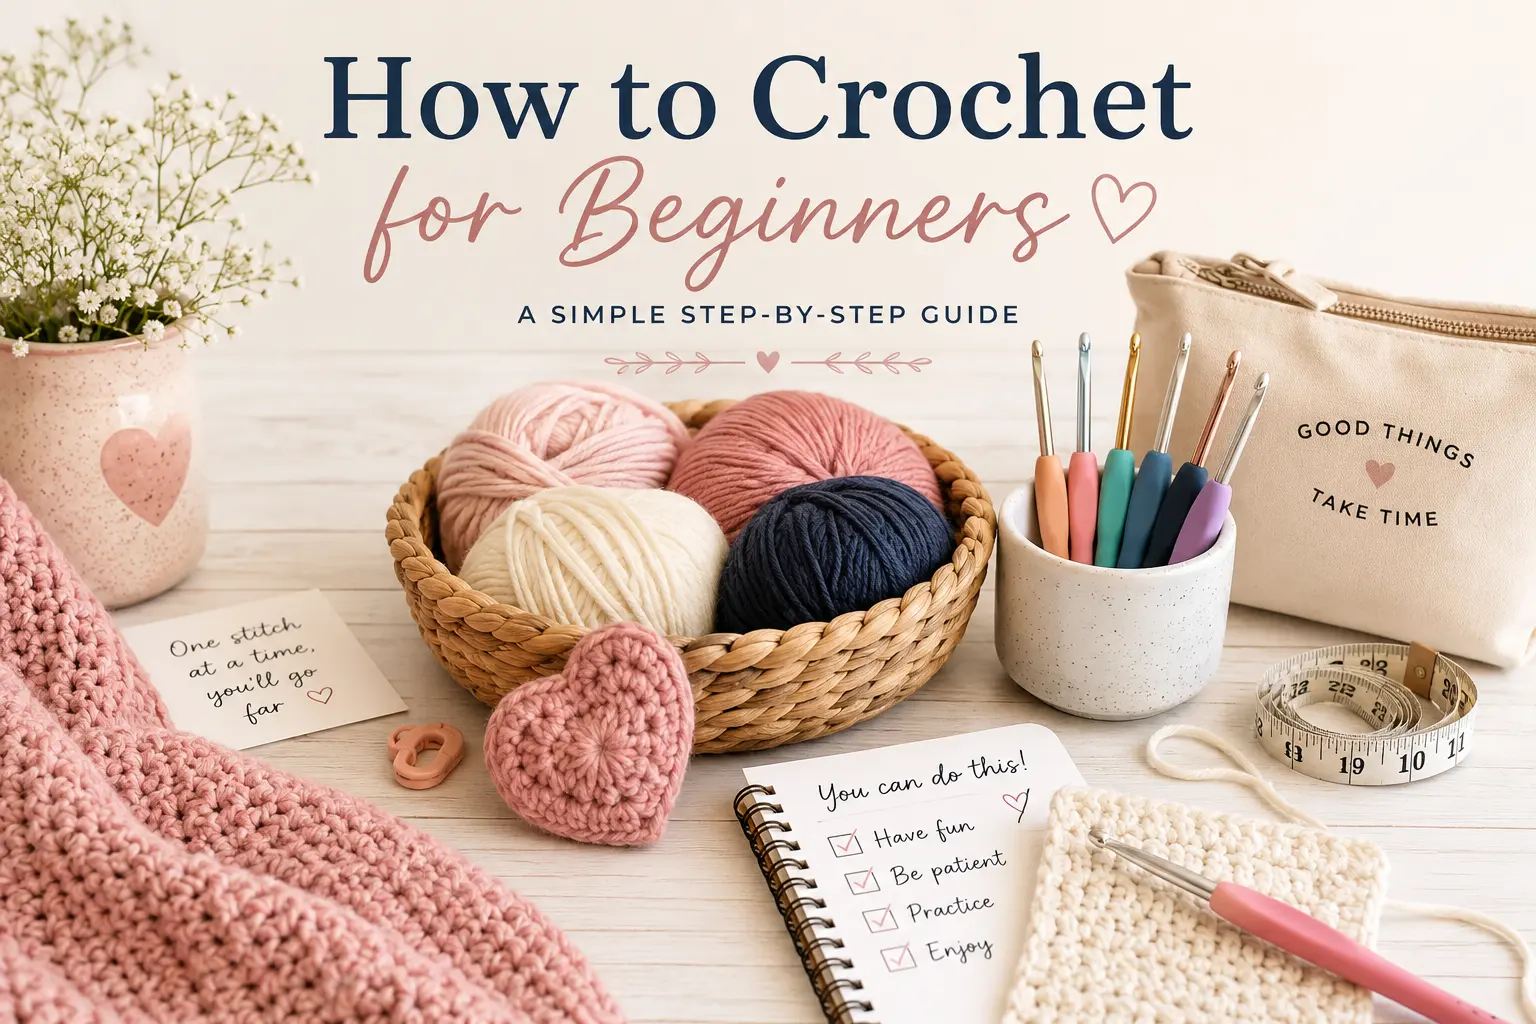
For your first project, you’ll only need a few essentials:
- Crochet hooks – A 5 mm (H-8) hook is a comfortable starting size for many beginners.
- Yarn – Choose a smooth, light-colored, medium-weight yarn so it’s easy to see your stitches.
- Scissors – For cutting your yarn when you’re finished.
- Yarn needle – A blunt tapestry needle makes weaving in loose ends much easier.
- Stitch markers – These are especially helpful for counting stitches and working in rounds.
Prefer to Start With a Complete Crochet Kit?
If you don’t want to buy every supply separately, a beginner crochet kit can be a convenient way to get the basic tools together.
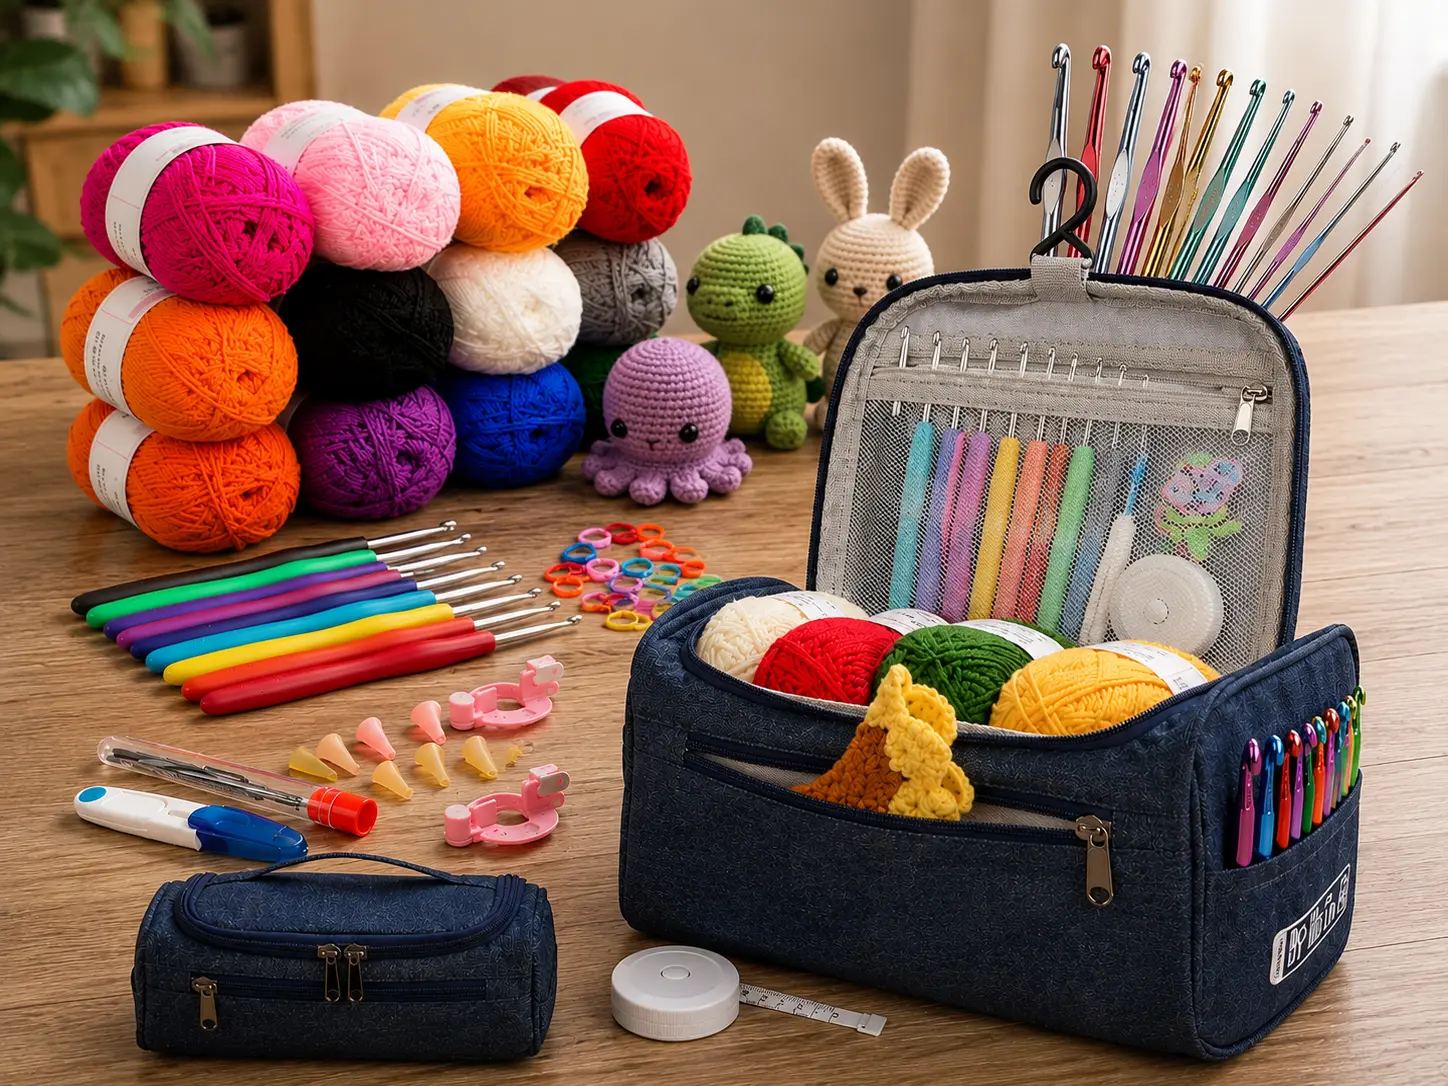
Aeelike Crochet Kit for Beginners
A convenient all-in-one starter set with crochet hooks, yarn and useful accessories for new crocheters.
Check Amazon for current price
Katech Crochet Kit for Beginners
A larger beginner crochet set combining yarn, crochet hooks, accessories and storage in one convenient package.
Check Amazon for current price
As an Amazon Associate I earn from qualifying purchases.
Tip: You don’t need an expensive kit to learn crochet. If you already have a suitable hook and some smooth yarn at home, that’s perfectly fine for practicing your first stitches.
How to Hold a Crochet Hook
There’s no single “correct” way to hold a crochet hook. The best grip is simply the one that feels comfortable and gives you good control over your yarn and stitches.
Most crocheters use one of two common methods: the pencil grip or the knife grip.
Pencil grip: Hold the crochet hook gently between your thumb and index finger, similar to the way you would hold a pencil.
Knife grip: Hold the hook with your hand positioned over it, similar to the way you would hold a table knife.
Try both methods for a few minutes and see which one feels more natural. Avoid squeezing the hook too tightly — relaxed hands will make crocheting more comfortable, especially as you practice for longer periods.
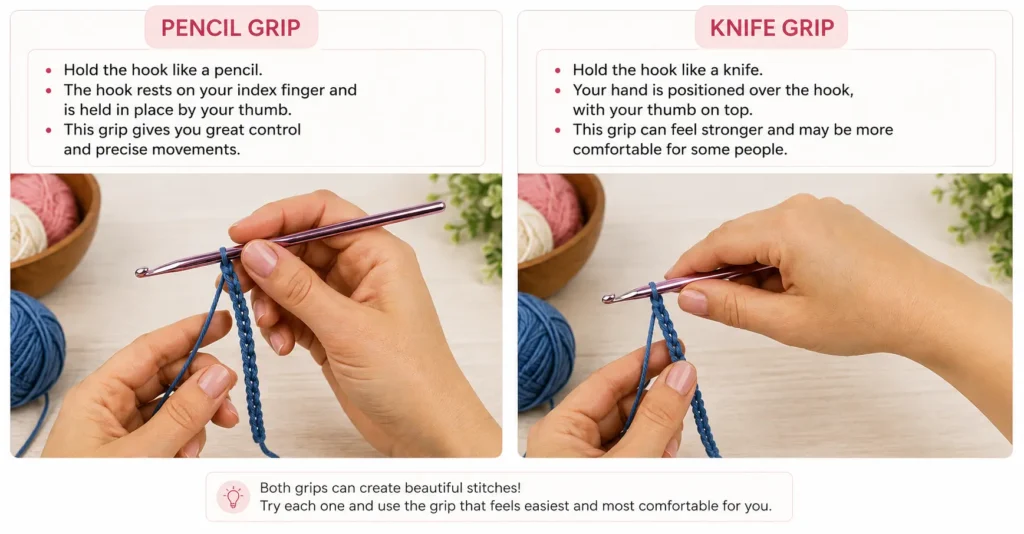
Beginner Tip: Don’t worry about copying someone else’s grip perfectly. Comfort and control are more important than holding your hook in one specific way.
How to Hold the Yarn
Holding the yarn comfortably helps you control your tension, which is what keeps your crochet stitches neat and relatively even.
Most crocheters hold the working yarn in their non-hook hand. Let the yarn pass gently through your fingers, then guide it over your index finger so it can move smoothly as you crochet.
You don’t need to pull the yarn tight. The goal is to create just enough tension to control the yarn while still allowing it to slide easily through your fingers.
At first, this hand position may feel a little awkward — that’s completely normal. Try a few different ways of wrapping or guiding the yarn through your fingers until you find one that feels natural.
Beginner Tip: If your stitches feel difficult to work into, your tension may be too tight. Relax your hands and let the yarn flow more freely.
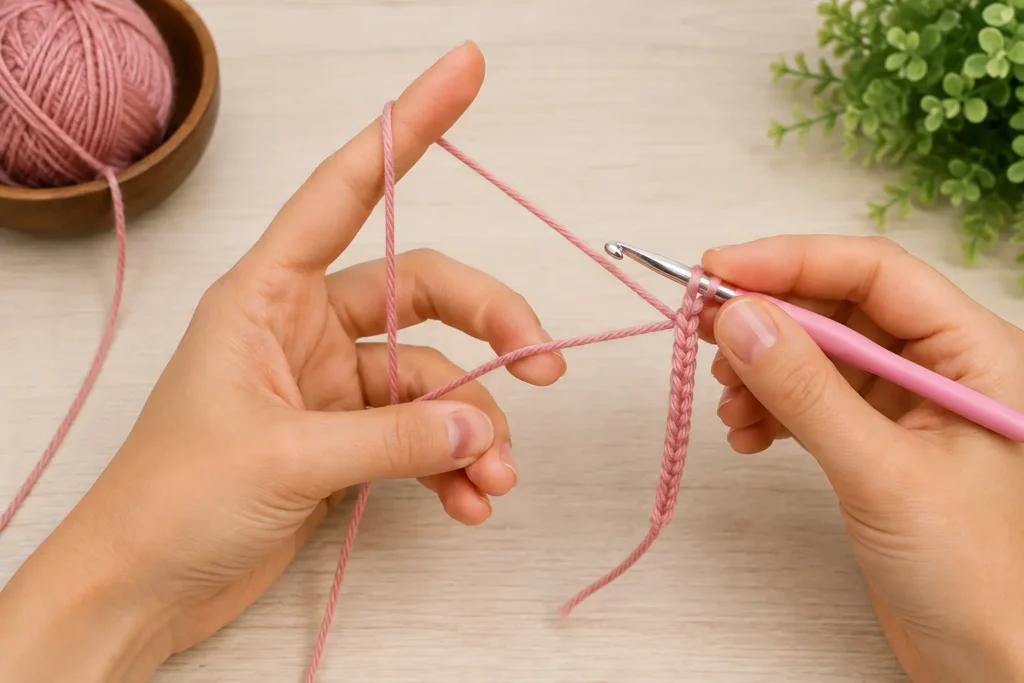
Step 1: Make a Slip Knot
Most beginner crochet projects begin with a slip knot.
Create a loop with your yarn, pull a section of yarn through that loop, and gently tighten the new loop around your crochet hook.
The slip knot should sit comfortably on your hook.
Avoid pulling it extremely tight — your hook should still move easily.
Step 2: Learn the Chain Stitch
The chain stitch (ch) is one of the first crochet stitches beginners learn.
Start with your slip knot on the hook.
- Bring the working yarn over your crochet hook. This is called a yarn over.
- Catch the yarn with your hook.
- Pull it through the loop already on your hook.
- You’ve made one chain stitch.
- Repeat to create a chain.
Don’t worry about speed. Concentrate on making relaxed, reasonably even chains.
Step 3: Learn Single Crochet
Once you’re comfortable making a chain, it’s time to practice single crochet (sc).
Using US crochet terminology:
- Insert your hook into the stitch.
- Yarn over and pull up a loop.
- You should now have two loops on your hook.
- Yarn over again.
- Pull through both loops.
That’s one single crochet!
Single crochet creates a fairly dense fabric and is one of the most useful stitches to learn, especially if you eventually want to make amigurumi.
Step 4: Practice Double Crochet
Another beginner-friendly stitch is double crochet (dc) in US terminology.
- Yarn over.
- Insert your hook into the stitch.
- Yarn over and pull up a loop.
- Yarn over and pull through two loops.
- Yarn over again and pull through the remaining two loops.
Double crochet is taller than single crochet, which means your fabric can grow more quickly.
Understanding US vs. UK Crochet Terms
Before following any crochet pattern, check whether it uses US or UK terminology.
This matters because some stitch names mean different things.
For example:
US single crochet (sc) = UK double crochet (dc).
Here at Tiny Crochet Nest, we’ll clearly identify the terminology used in our crochet patterns so you know exactly which stitch to make.
What Is Crochet Gauge?
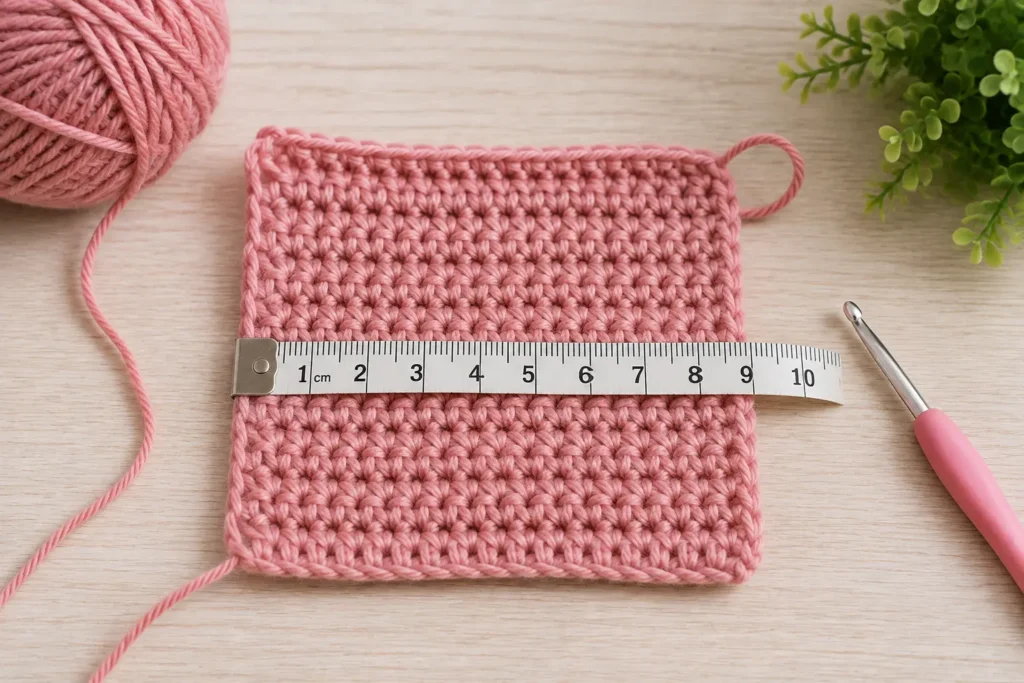
Crochet gauge tells you how many stitches and rows fit into a specific measurement. Think of it as a simple way to check whether your crochet stitches are the right size for a pattern.
Gauge is especially important when the finished size matters, such as with hats, sweaters, garments, and fitted accessories.
Before starting, a pattern may ask you to crochet a small gauge swatch and measure it.
- If your swatch is too large, try a smaller hook size.
- If your swatch is too small, try a larger hook size.
- If it matches the pattern gauge, you’re ready to go. ♡
For amigurumi, exact gauge is often less important than creating a firm fabric with stitches tight enough that the stuffing doesn’t show through.
Beginner Tip: Don’t stress about gauge while you’re simply practicing your first stitches. It becomes much more important when you start making projects that need to fit a specific size.
Common Beginner Crochet Mistakes
Your first crochet project probably won’t be perfect — and that’s completely normal.
Some of the most common beginner mistakes include accidentally adding or losing stitches, crocheting too tightly, missing the first or last stitch of a row, and forgetting to count stitches.
Try counting your stitches at the end of every row.
Stitch markers can also make it much easier to identify important stitches or the beginning of a round.
And one of the nicest things about crochet is that when something goes wrong, you can usually pull back a few stitches and try again.
What Should You Crochet First?
Keep your first project small and simple.
A few good beginner projects include a crochet coaster, simple dishcloth, granny square, scarf, or another small project using only one or two basic stitches.
Once those basic movements begin to feel natural, you’ll be ready to explore amigurumi, baby crochet projects, blankets, and more detailed patterns.
Take It One Stitch at a Time ♡
Learning to crochet isn’t about creating perfect stitches on your first try.
Give yourself time to become comfortable with your hook, yarn, and the basic movements. Even a few minutes of practice can make your stitches feel more natural.
Soon, that simple ball of yarn can become something cozy, cute, and completely handmade.
Happy crocheting! 🧶♡
Looking for more cute crochet ideas and inspiration? Follow Tiny Crochet Nest on Pinterest for beginner-friendly projects, adorable patterns, and cozy crochet inspiration.