Retro Crochet Jacket: How to Create This Bold ’90s-Inspired Look
Some crochet projects are cute. Others make you stop scrolling immediately.
This retro crochet jacket belongs in the second category.
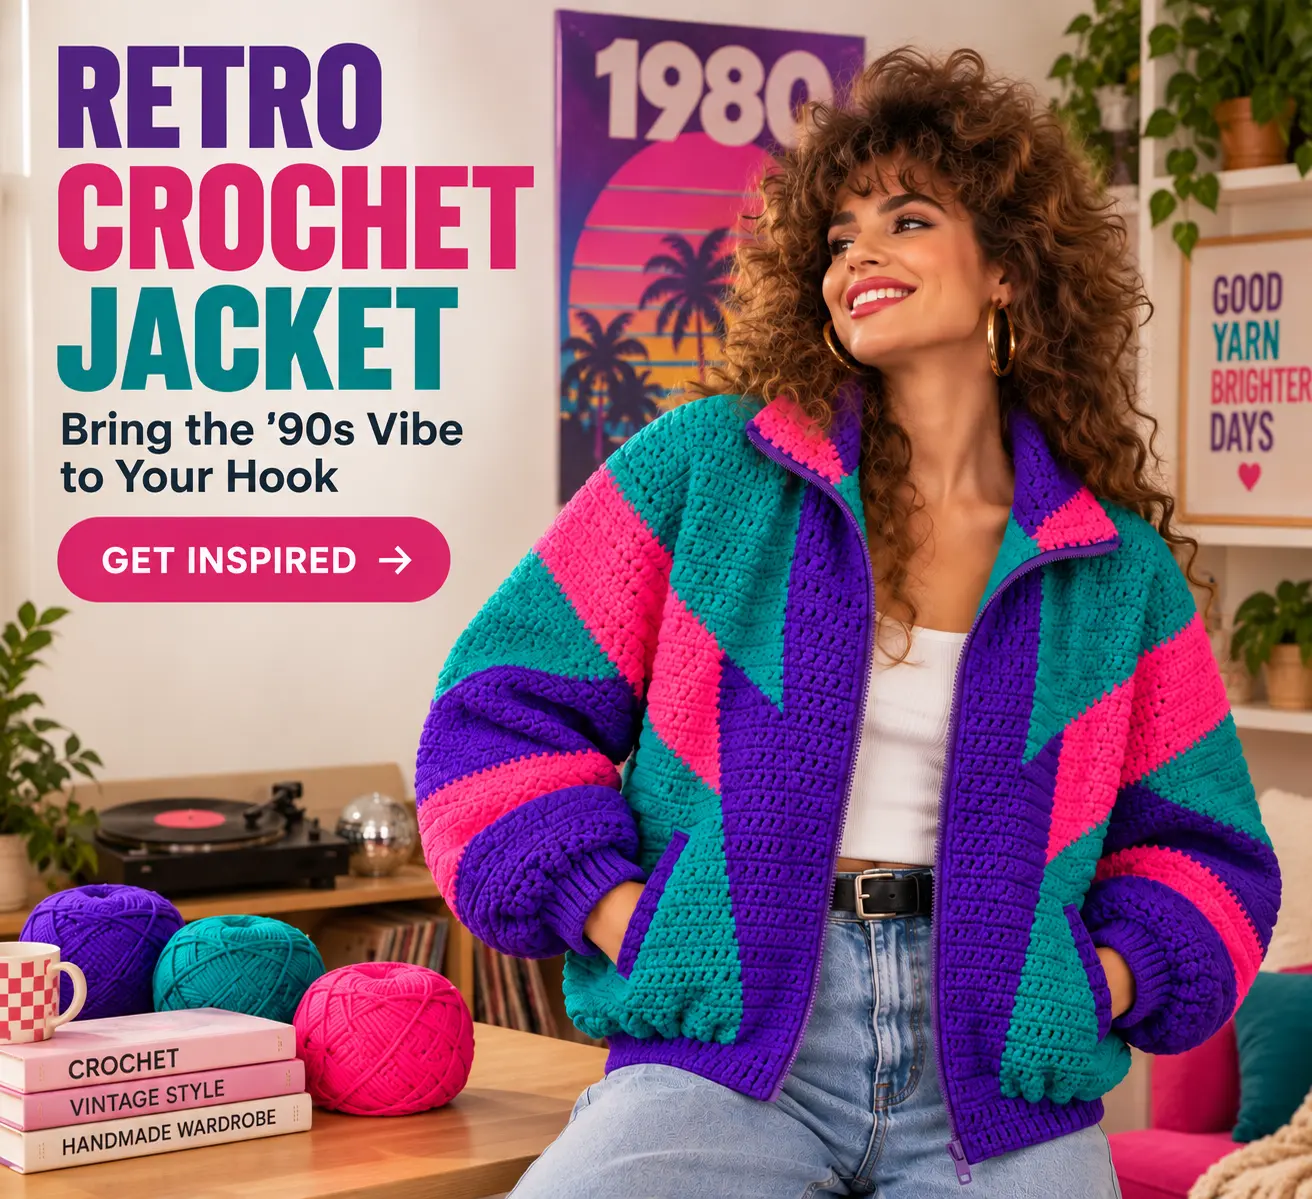
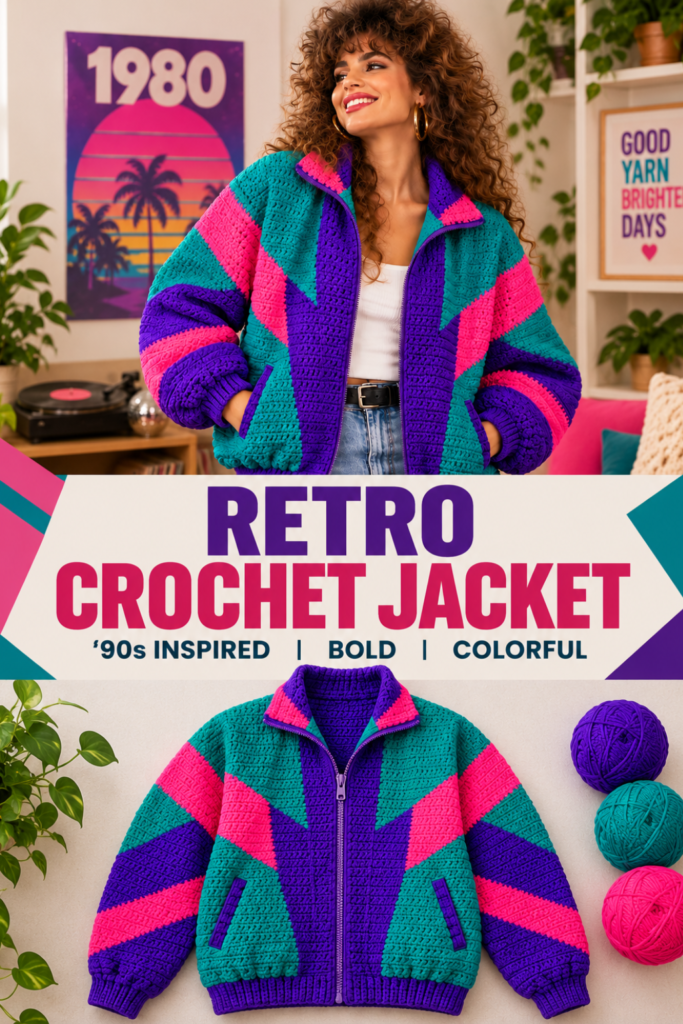
With its bold purple, teal, and hot pink color blocking, oversized sleeves, sporty zipper, and unmistakable ’90s attitude, this jacket turns a vintage windbreaker aesthetic into something warm, textured, and completely handmade.
And although the geometric design looks complicated at first, you don’t need an advanced crochet pattern to start experimenting with the idea.
The trick is to break the jacket into simple sections, choose the right yarn, and let the colors do most of the work.
So, how could you recreate this look with your own hook?
What Is a Retro Crochet Jacket?
A retro crochet jacket is a handmade jacket inspired by vintage fashion, especially the bold sportswear and color-block designs popular during the 1980s and 1990s.
Think oversized sleeves, bright contrasting colors, geometric stripes, fitted cuffs, high collars, and zip-front silhouettes.
Crochet changes the look completely.
Instead of the shiny nylon traditionally used for vintage windbreakers, yarn creates a soft, textured surface that makes the design feel both nostalgic and modern.
For this particular style, three colors create most of the visual impact: deep purple, bright teal, and hot pink.
But before choosing your colors, there’s something even more important to consider.
Materials You’ll Need for a Retro Crochet Jacket
The right yarn can determine whether your jacket feels structured and wearable or becomes too heavy.
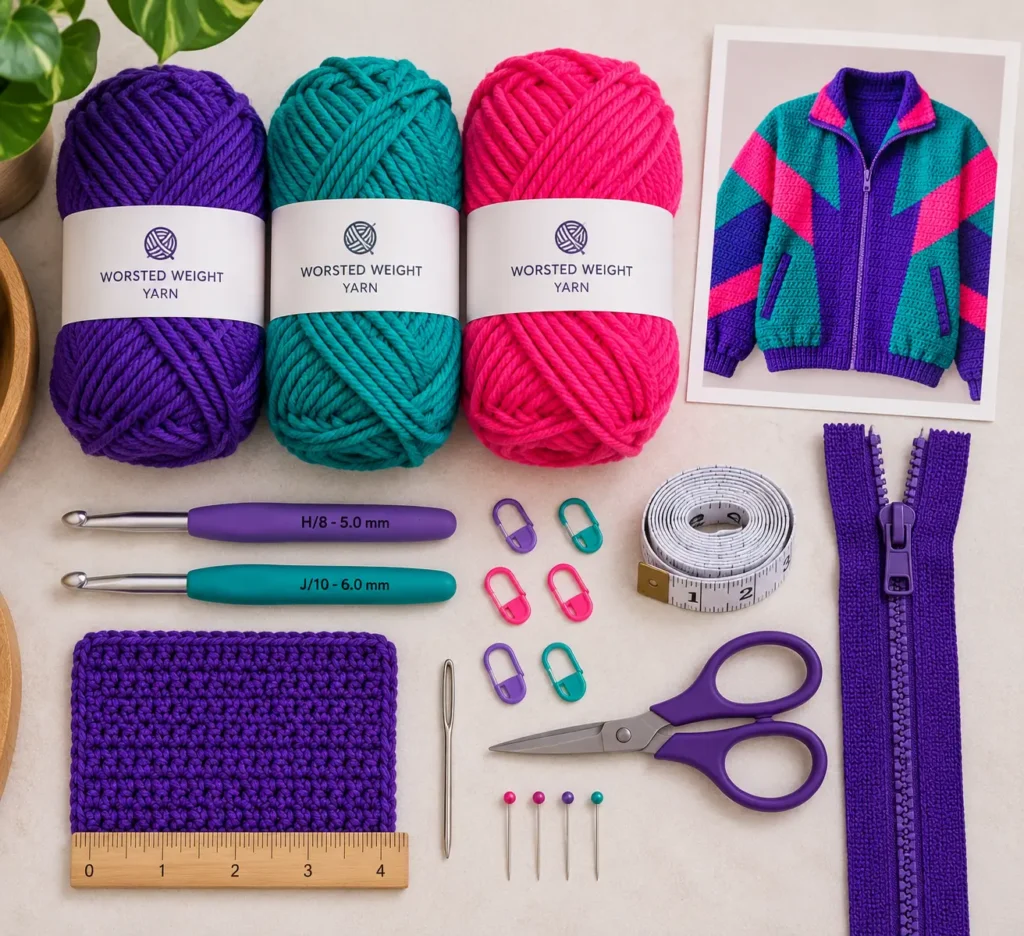
For a retro crochet jacket, a worsted or aran-weight yarn is a practical place to start. Look for a yarn with enough structure to showcase the geometric color changes while still creating a comfortable fabric.
Depending on the size, gauge, stitch pattern, and finished length, you may need approximately 1,300 to 2,000 yards of yarn.
For a similar look, gather deep purple, teal, and hot pink yarn, a US H/8–J/10 (5–6 mm) crochet hook, stitch markers, scissors, measuring tape, a tapestry needle, and a separating jacket zipper.
Before crocheting the actual garment, make a gauge swatch.
It may be tempting to skip it, but when several panels have to meet perfectly around a zipper, a small difference in gauge can become a big problem later.
Once your gauge is right, you can start building the jacket.
How to Crochet a Retro Jacket
The easiest way to approach this design is panel by panel.
Start with the back panel. This establishes the overall width and length of your jacket.
Next, crochet two separate front panels. Leaving the center open makes room for the zipper and also gives you an easy way to create the strong purple section running down the middle.
Now introduce the teal sections around the shoulders and sides.
Then comes the feature that gives this retro crochet jacket its personality: the hot pink diagonal stripes.
Instead of changing colors at exactly the same stitch on every row, gradually move the color-change point.
Shifting those transitions from row to row allows you to build diagonal sections rather than ordinary horizontal stripes.
The result is that dramatic geometric effect associated with vintage ’90s sportswear.
And the same idea continues onto the sleeves.
Create Oversized ’90s-Inspired Crochet Sleeves
The sleeves are where you can really exaggerate the vintage silhouette.
Keep them relatively roomy through the upper arm and forearm instead of making them fitted from shoulder to wrist.
Continue the purple, teal, and pink color-block design across both sleeves, using the body of the jacket as a visual reference.
Near the wrist, gradually decrease your stitches.
Then finish each sleeve with a snug crochet ribbed cuff.
Back-loop-only single crochet works particularly well here because it creates flexible ribbing that visually resembles the elastic cuffs found on traditional bomber jackets.
That combination of wide sleeve + fitted cuff instantly gives the jacket more of a retro sportswear shape.
But there’s another feature that can make the finished project look surprisingly professional.
How to Add a Zipper to a Crochet Jacket
Yes, you can add a zipper to crochet—and it’s easier when you prepare the garment first.
Block the front panels according to the care instructions for your chosen yarn. Make sure both sides are the same length before positioning your zipper.
Lay the separating zipper between the two front panels and temporarily secure it with clips or pins.
Before sewing anything permanently, close the zipper.
Check that the bottom ribbing, color sections, and neckline align correctly on both sides.
Once everything looks even, carefully hand-sew the zipper to the crochet fabric without stretching the stitches.
This one detail can transform a handmade cardigan-like piece into a true crochet bomber jacket.
And now it needs somewhere to put your hands.
Add Simple Crochet Pockets
You don’t need complicated pocket construction to maintain the vintage aesthetic.
For an easier option, crochet two small panels separately and attach them to the lower front sections, leaving the upper or angled edge open.
Try matching the pockets to the teal body and outlining the openings in purple.
This keeps them visually connected to the original color-block design.
If you plan on carrying heavier items, consider adding a lightweight fabric lining inside the pockets to reduce stretching.
Then there’s one final detail that pulls the entire silhouette together.
Finish Your Retro Crochet Jacket With Ribbing
Use the same ribbing technique from the cuffs along the bottom of the jacket.
A slightly fitted waistband helps pull the oversized body inward and creates that recognizable bomber shape.
Once the ribbing is attached, weave in your ends, check the seams, and lightly block the finished garment if appropriate for your yarn.
Now step back.
Those individual purple, teal, and pink crochet sections suddenly look like one cohesive retro crochet jacket.
But you definitely don’t have to stop with those three colors.
Retro Crochet Jacket Color Ideas
This design is really a starting point.
For a cozy fall version, try cream, burnt orange, and chocolate brown.
For something more minimalist and streetwear-inspired, combine black, charcoal gray, and deep red.
Want a softer aesthetic? Lavender, mint green, and blush pink can turn the same geometric construction into a pastel statement jacket.
You can also change the silhouette.
Make your jacket cropped, exaggerate the sleeves, remove the collar, simplify the diagonal stripes, or replace the zipper with buttons.
That freedom is exactly why vintage clothing makes such great crochet inspiration.
Is This Retro Crochet Jacket Beginner-Friendly?
A jacket like this is best suited to an adventurous beginner or intermediate crocheter, especially if you already feel comfortable changing colors, measuring crochet panels, seaming pieces, and working basic decreases.
The construction itself can remain relatively simple.
The challenge comes from keeping your color changes clean and making sure the different pieces have compatible measurements.
If the geometric sections feel intimidating, simplify them.
Start with larger blocks of purple, teal, and pink before experimenting with diagonal shapes.
A simpler jacket that fits beautifully will always be more satisfying than an overly complicated project you never finish.
Make the Retro Look Your Own
The most exciting thing about this retro crochet jacket isn’t reproducing one vintage windbreaker perfectly.
It’s seeing what happens when an old fashion idea meets your own yarn stash.
Change the colors. Adjust the length. Make the sleeves dramatic. Add a giant collar. Keep the geometric stripes or simplify them completely.
Use the original jacket as inspiration rather than a set of rules.
Because sometimes all it takes is one unexpected vintage piece to make you look at three forgotten skeins of yarn and think:
Wait… I know exactly what I want to make with these. 🧶✨
And maybe this jacket is only the beginning.
If you’re still getting comfortable with your hook, start with our beginner-friendly guide to learning how to crochet. It walks you through the basic supplies, stitches, and techniques you’ll want to know before taking on bigger wearable projects.
Already wondering what to make next? Explore these heartwarming crochet gifts for kids for handmade projects with a little extra meaning, or bookmark our Halloween crochet ideas for cute, cozy projects to add to your fall crochet list. 🎃
And before you go, save this retro crochet jacket idea to Pinterest so you can come back when the perfect purple, teal, and hot-pink yarn finds its way into your stash.
Because we all know how crochet inspiration works—you might not start it today, but once an idea gets stuck in your head, that yarn is already halfway to becoming something. 💜🧶